
So You Want to design cool stuff but feeling a bit new to Canva? No worries! This Canva tutorial for beginners is all you need. We’ll break down 14 super useful hacks to make designing a breeze. We’ll take a fun dive into Canva’s features and get you creating stunning visuals in no time. By the end of this, you’ll be a Canva rockstar! On top of that, we’ll share some secret websites to find free design elements and really make your Canva projects shine. Let’s get started!
Canva Tutorial For Beginners – Tip #14: Use Single Key Shortcuts

Shape Shortcuts (Work on both Mac and Windows):
- Rectangle: Feeling boxy? Press R on your keyboard to instantly add a rectangle to your canvas.
- Circle: Go for a more rounded look? Hit C to create a perfect circle.
- Line: Need a straight shot? Simply press L to add a line.
Bonus Tip: While holding Shift while using these shortcuts will constrain the proportions of your shape, creating perfect squares, circles, and straight lines!
These shortcuts eliminate the need to click through menus, allowing you to build your design with lightning speed. Combine them with the other shortcuts you learned earlier, and your Canva workflow will be unstoppable!
Tip #13: Precisely move the elements by using Arrows
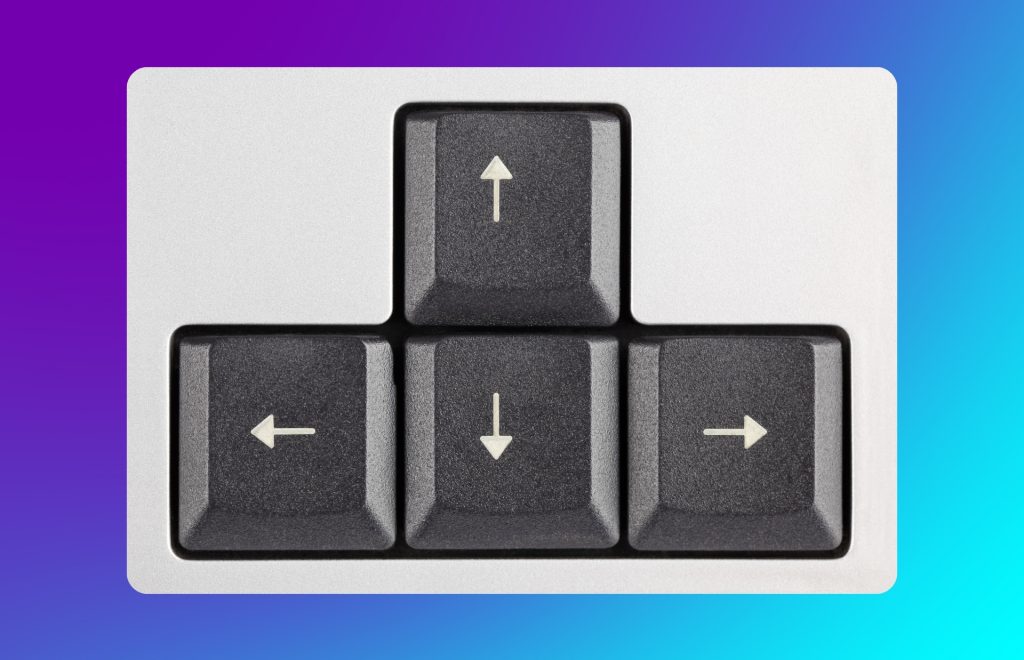
Ever feel like your element is just a smidge off? We’ve all been there! Canva lets you achieve pixel-perfect positioning with a simple trick: the arrow keys.
These familiar keys become your secret weapon for tiny adjustments. Just tap an arrow key, and your element will move one single pixel in that direction. Up goes up, down goes down, left goes left, and right goes right – easy as pie!
This lets you make those super-fine adjustments for that perfectly balanced design.
How to Become a Canva Creator and Earn $1250/month?
Tip #12: See Through It All By Selecting Hidden Elements

Ever placed an element behind another one and now can’t seem to grab it? Don’t worry, Canva has a solution to help you select hidden elements on your canvas.
Here’s the magic trick: Hold down the Shift key while clicking on your canvas. This enables you to select elements even if they’re obscured by something else. Just keep clicking on the area where you think your hidden element might be, and eventually, you’ll snag it!
This tip is a lifesaver when:
- Editing elements behind others: You’ve accidentally placed a text box or image behind another element and need to change its formatting or content. Holding Shift allows you to target the hidden element directly.
- Resizing hidden objects: Sometimes, you might need to adjust the size of an element that’s partially covered. Using Shift-click lets you grab the hidden element’s corner handles and resize it precisely.
- Rearranging overlapping elements: If you want to change the order of elements on your canvas, Shift-clicking hidden elements makes it easier to select and move them without accidentally grabbing the element on top.
Remember: While the Shift-click method is a great way to select hidden elements, it can get a little tricky if there are many elements overlapping. In such cases, consider using the Layers panel (as mentioned earlier) to directly select the hidden element by name.
Bonus Tip: If you frequently work with overlapping elements, consider using a grouping strategy. Group related elements together (by selecting them and clicking “Group” in the top bar). This allows you to move or edit the entire group at once, even if some elements within the group are hidden behind others.
Tip #11: Grouping Element To Move Together
There are two main ways to group elements together in Canva: using the cursor and the floating toolbar, or using a keyboard shortcut. Here’s a breakdown of both methods:
Using the cursor and floating toolbar:
- Select the elements:
- Click and drag your cursor over the elements you want to group. This will create a selection box around them.
- Alternatively, hold down the Shift key on your keyboard and click on each element you want to include in the group one by one.
- Group the elements:
- Once you’ve selected all the elements you want to group, a small toolbar will appear above your selection.
- On this toolbar, click the button labeled “Group”.
Using the keyboard shortcut:
- Select the elements: As mentioned in step 1 of the previous method.
- Group the elements:
- Press Command + G (for Mac) or Ctrl + G (for Windows) on your keyboard. This will automatically group the selected elements.
Additional notes:
- You can also right-click on your selection and choose “Group” from the dropdown menu to achieve the same result.
- To ungroup elements, simply click on the group and select “Ungroup” from the floating toolbar.
By grouping elements, you can treat them as a single unit. This makes it easier to move, resize, rotate, and apply other edits to them all at once.
Tip #10: Saving Your Brand Color, Logo and Icons Using Brand Kit
There are two main approaches to saving your brand colors, logo, and icons using a Brand Kit concept:
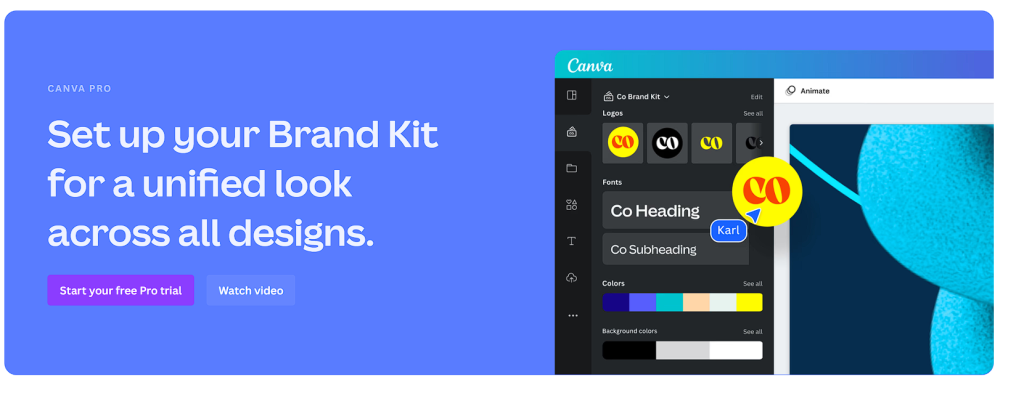
1. Utilizing a design platform with built-in Brand Kit features:
Several design platforms offer Brand Kit functionalities, allowing you to store and manage your brand assets centrally. Here’s a general guideline (specific steps might differ slightly depending on the platform):
- Locate the Brand Kit section: This section might be named “Brand Kit,” “My Brand,” or something similar. Look for it in the platform’s settings or menus.
- Add your logo: Click the designated button to upload your logo file. Ensure it’s saved in a suitable format like PNG or SVG (for vector logos that can be resized without losing quality).
- Define your brand colors: The platform will likely offer a color palette section. You can either choose colors from the provided options or enter specific color codes (like hex codes) to match your brand. Some platforms allow saving multiple color palettes.
- Upload your icons: Similar to the logo, locate the option to upload your brand icons. Again, ensure they’re saved in appropriate formats.
2. Creating your own Brand Kit with basic tools:
If you don’t use a design platform with a Brand Kit feature, you can still create your own system:
- Choose a storage location: Select a folder on your computer’s hard drive or a cloud storage service like Google Drive or Dropbox to store your brand assets.
- Organize your files: Create subfolders within your chosen location to categorize your brand elements. For instance, have separate folders for logos (with different variations if applicable), color palettes (with a text file listing color codes), and icons.
- Maintain file formats: Save your logo as a PNG or SVG, and icons in formats like PNG or SVG (for vector icons) or JPG (for simpler icons).
Tip #09: Finding Brand Logos In Elements
- Use Brandfetch (Canva Pro only): Canva Pro offers a premium add-on called Brandfetch. This app allows you to access a limited library of official logos from some popular brands. However, it’s not an exhaustive collection, and you’ll still need to check the specific brand’s usage guidelines before using their logo.
Tip #08: How To Add Hyperlink In Your Elements
Here’s how to add hyperlinks to elements in Canva:
On Desktop:
- Select the element: Click on the text box, image, or button you want to make clickable.
- Open the Link menu: There are two ways to do this:
- Click the three dots (…) icon on the top toolbar that appears when you select the element.
- Locate the Link icon (it resembles a chain link) on the top toolbar and click on it directly.
Choose your link destination: A pop-up window will appear. You have two options:
- Link to a website: Enter the full URL (web address) of the website you want viewers to be directed to when they click the element.
- Link to another page (Canva Pro only): If you’re using Canva Pro and your design has multiple pages, you can link to a specific page within the same design document. Select the desired page from the dropdown menu.
Apply the link: Once you’ve entered the URL or chosen the page (for Canva Pro), press Enter on your keyboard or click anywhere outside the pop-up window to apply the hyperlink.
On Mobile App:
- Select the element: Tap on the text box, image, or button you want to make clickable.
- Open the Link menu: Tap the three dots (…) icon on the bottom toolbar that appears when you select the element.
- Choose your link destination: Similar to desktop, a menu will pop up. You can either:
- Link to a website: Enter the full URL in the designated field.
- Link to another page (Canva Pro only): If you’re using Canva Pro and your design has multiple pages, select the desired page from the “Pages in this document” section.
- Apply the link: Once you’ve entered the URL or chosen the page, tap Apply or Done to confirm the hyperlink.
Important Notes:
- Hyperlinks only work on PDF downloads of your Canva design, not on image formats like JPG or PNG.
- Hyperlinks won’t function if you share your design on social media platforms like LinkedIn, which disable embedded links in posts or PDFs.
Tip #07: Duplicate images quickly
There are three quick ways to duplicate an image in Canva:
1. Using the keyboard shortcut (fastest method):
- Select the image you want to duplicate by clicking on it.
- Press Command + D (for Mac) or Ctrl + D (for Windows) on your keyboard.
This will instantly create a copy of the image directly on your workspace.
2. Using the “Duplicate” option (alternative method):
- Select the image you want to duplicate.
- Click on the three dots (…) icon on the top toolbar that appears when you select the element.
- A menu will pop up. Choose Duplicate from the list of options.
This will also create a copy of the image on your workspace.
3. Using drag-and-hold (with copying functionality):
- Hold down the Option key (for Mac) or Alt key (for Windows) on your keyboard.
- Click and drag the image you want to duplicate to a different location on your workspace.
Tip #06: Use font combinations and complementary colors
Canva offers a variety of tools to create visually appealing designs using effective font pairings and complementary color schemes. Here’s how you can leverage them:
Font Combinations:
- Canva’s Font Pairing Tool:
- Open your Canva design and click on the Text tab on the left sidebar.
- In the text box, start typing your desired text.
- Click on the “AA” icon next to the font family dropdown. This opens the font pairing tool.
- Explore the suggested font pairings displayed below the chosen font. These are pre-selected combinations that work well together visually.
- Click on a suggested pair to apply both fonts to your text elements.
- Basic Principles of Font Pairing:
- Contrast: Combine fonts with different styles (serif vs. sans-serif, bold vs. light) to create visual interest.
- Hierarchy: Use a bolder or larger font for headlines and a more subtle font for body text to establish hierarchy and readability.
- Similarity: Maintain some level of similarity, like similar letter shapes or weights, for a cohesive look. For example, pair a playful script font with a clean sans-serif font that shares similar rounded shapes.
Complementary Colors:
- Canva’s Color Palette Tool:
- Click on the Colors tab on the left sidebar.
- Explore the pre-designed color palettes available under “Explore color palettes”. These palettes use complementary colors that work well together.
- Click on a color palette to apply the chosen colors to your design elements.
- Understanding Complementary Colors:
- Complementary colors are those that sit opposite each other on the color wheel. For example, red and green are complementary colors.
- Using complementary colors can create a vibrant and eye-catching design.
- Alternatively, consider an analogous color scheme. These colors sit next to each other on the color wheel and create a more harmonious and subtle look.
- Open the Apps section: In your Canva design workspace, locate the left sidebar and click on the “Apps” tab.
- Search for Pexels: Within the Apps search bar, type in “Pexels”.
- Activate Pexels: You’ll see the Pexels app icon appear. Click on it to activate the Pexels integration within Canva.
- Search for Images: Once activated, the Pexels search bar will appear within the Apps section. Here, you can directly search for images using keywords related to what you need.
- Select and Add Image: Browse the search results and select the image you want to use. Click on the image, and it will be automatically added to your Canva design workspace.
- Convenience: This method allows you to search for Pexels images without leaving the Canva interface, streamlining your workflow.
- Choose between “Anyone with the link” (public) or “Only people you invite” (private) under the Collaboration link dropdown.
- Direct Access: You can directly add chosen images to your design with a single click.
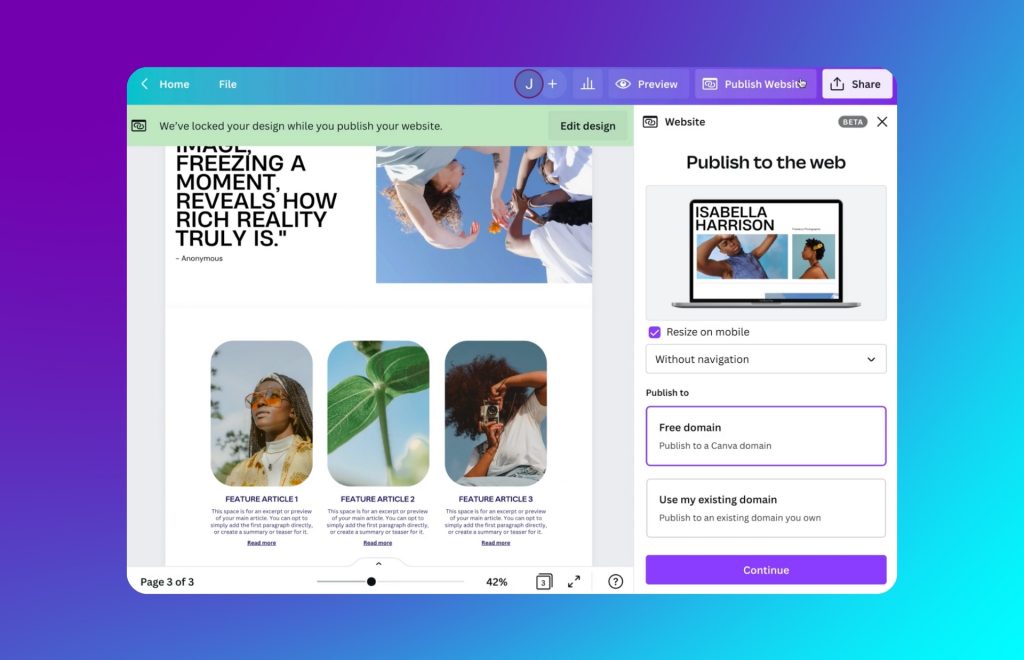
Tip #04: Sharing Templates and Designs In Canva
Canva offers a few ways to share your designs and templates, depending on who you want to share them with and the level of access you want to grant. Here’s a breakdown of the methods:
Sharing a Design:
- Public or Private Link:
- Open your design in Canva.
- Click the Share button located above the editor.
- Select the level of access you want to give (view, comment, or edit) using the dropdown menu next to Can access.
- Click Copy link to get a shareable link.
- Email:
- Follow steps 1-3 above to choose sharing options.
- Instead of copying the link, click on the paper airplane icon and enter email addresses to share directly.
Sharing a Template (Canva Pro only):
- Template Link:
- Open your design (ensure it’s suitable as a template).
- Click Share.
- Select Template link and click Create template link. This creates a unique link for your template.
Sharing with a Team (Canva Teams or Enterprise):
- Shared Folders:
- Create a folder in your projects and name it clearly (e.g., “Social Media Templates”).
- Click the folder and select Share.
- Enter email addresses and choose permission levels (view, comment, or edit).
Tip #03: How To Drop shadow effects for images
Canva offers two main ways to add a drop shadow effect to your elements (text, images, etc.):
Method 1: Using the Effects Panel
- Select the element: Click on the text box, image, or shape you want to add a drop shadow to.
- Open the Effects panel: Locate the top toolbar that appears when you select an element. Click on the Effects button (it looks like a sunburst icon).
- Choose Shadow: Within the Effects panel, scroll down and find the Shadow section.
- Customize the shadow: Here, you can adjust various aspects of the drop shadow using sliders and dropdown menus:
- Offset: Controls the distance of the shadow from the element.
- Direction: Choose the direction from which the shadow appears (e.g., top right, bottom left).
- Blur: Adjusts the focus of the shadow (sharper or softer edges).
- Transparency: Sets the opacity of the shadow (more or less visible).
- Color: Select the desired color for the shadow.
- Apply the effect: Once you’ve achieved the desired shadow look, click outside the Effects panel or press Enter on your keyboard to apply the changes.
Method 2: Using the Edit Image Tool (for Images Only)
- Select the image: Click on the image you want to edit.
- Open the Edit Image panel: Above the editor workspace, locate the Edit image button (it looks like a stack of squares) and click on it.
- Navigate to FX: Within the Edit Image panel, find the FX tab and click on it.
- Select Shadow: Under the FX options, choose Drop to apply a drop shadow effect.
- Customize the shadow: Similar to the Effects panel method, you’ll find options to adjust offset, direction, blur, transparency, and color of the drop shadow.
- Apply the effect: Click Apply at the bottom of the Edit Image panel to confirm the changes.
Additional Tips:
- Experiment with different settings to achieve the shadow style that best suits your design.
- A subtle drop shadow can add depth and dimension to your elements, while a stronger shadow can create a more dramatic effect.
- Consider the overall design when choosing the shadow color. It can match the element’s color or be a contrasting color for emphasis.
Tip #02: Gradient Text Effects In Canva
Here’s how to use the Canva gradient text effect:
Method 1: Using the Text Fill Options (More Control):
- Add your text: Click on the Text tab on the left sidebar and choose your desired font and style. Type in your text.
- Select the text: Click on the text box you’ve created to activate the text editing options.
- Open the Fill menu: Locate the color fill options on the top toolbar. It might appear as a colored box or a text label indicating the current fill color. Click on it to open the dropdown menu.
- Choose Gradient: Within the fill options, select Gradient.
- Customize the gradient: A gradient editor will appear, offering control over these aspects:
- Color Stops: Click the plus sign (+) to add color stops, which define the transition points between your chosen colors. You can have up to 10 color stops.
- Color Picker: Click on a color stop to activate the color picker and choose your desired color.
- Gradient Direction: Use the directional arrows at the ends of the gradient bar to adjust the direction of the color transition (e.g., horizontal, vertical, diagonal).
- Apply the effect: Once you’re happy with the gradient, click outside the editor or press Enter on your keyboard to apply the effect to your text.
Tip #01: Adding Style To Line
Line Styles and Weight:
- Add a line: There are two main ways to add lines in Canva:
- Shapes: Go to the Elements tab on the left sidebar and navigate to the Lines section. Drag and drop your desired line style onto your workspace.
- Drawing Tools: Click on the Lines & Shapes tab (looks like a squiggly line icon) in the top toolbar. Choose the Line tool and draw directly on your workspace.
- Select the line: Click on the line element you want to modify.
- Open the Lines panel: A top toolbar will appear upon selecting the line. Locate the Lines button (it looks like three horizontal lines) and click on it.
- Adjust line weight: Within the Lines panel, use the slider under Weight to adjust the thickness of your line.
Line Pointers (End Caps):
- Follow steps 1-3 above to add and select your line.
- Open the Lines panel: Click on the Lines button in the top toolbar.
- Choose pointer style: Under the Caps section, you’ll see options for different pointer styles (e.g., rounded caps, square caps, arrowheads). Click on your desired pointer style.
Conclusion
So, that’s it for our Canva tutorial for beginners! Feeling confident about creating awesome designs? Don’t forget to check out those secret websites for free design magic. Now get out there and Canva like a boss!